Profile Creation
Overview
Each browser profile in Indigo X comes with carefully configured parameters that make it appear as a unique and separate online identity. This guide will walk you through the profile creation process and best practices to help you avoid detection.
Creating a New Profile
Step 1: Initial Setup
- Click "New profile" in the top-right corner of your dashboard
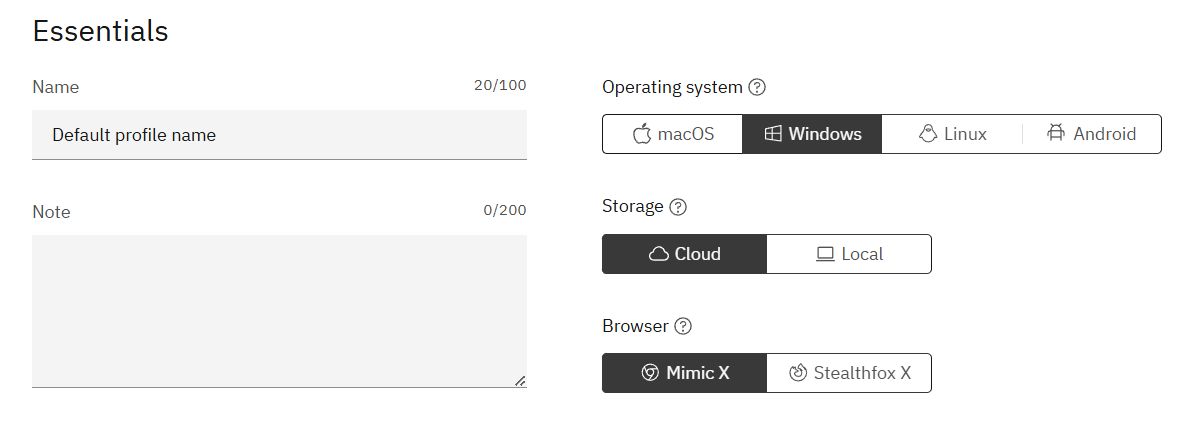
- Configure the essential settings that cannot be changed after creation:
- Operating System
- Storage Type
- Browser Type
Choose an OS that matches your actual system (Windows, macOS, or Linux) to avoid fingerprint inconsistencies.
Select from:
- Windows
- macOS
- Linux
- Android
Choose based on your needs:
| Storage Type | Best For | Features |
|---|---|---|
| Cloud | Team collaboration | - Synced across devices - Accessible anywhere - Team sharing |
| Local | Individual use | - Faster launches - Works offline - Lower bandwidth usage |
Select cloud storage if you plan to work in a team or use the same profile on multiple devices.
Two equally secure options:
| Browser | Based On | Key Features |
|---|---|---|
| Mimic | Chrome | Chrome-compatible |
| Stealthfox | Firefox | Firefox-compatible |
Both browsers provide equal protection against detection.
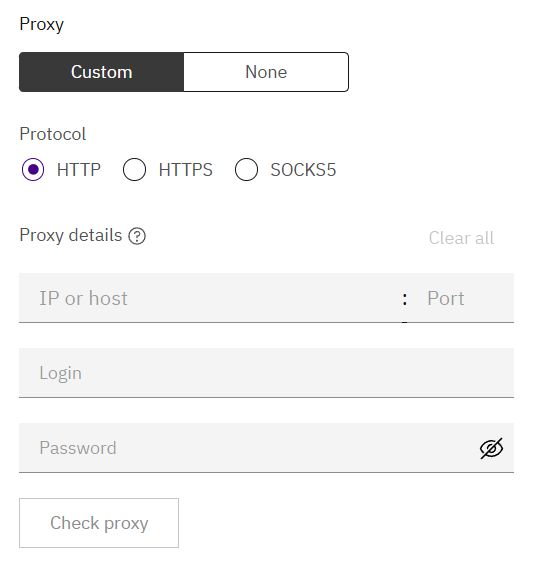
Step 2: Proxy Configuration
Configure your proxy settings in the "Proxy" section:
After configuring your proxy:
-
Click "Check proxy" to verify the connection
-
Look for the verification result:
✅ "Proxy check passed": Successfully connected and retrieved IP data
❌ "Proxy check failed": Connection issues detected - troubleshooting guide
Step 3: Additional Settings
Most browser fingerprint settings are automatically generated and optimized for maximum protection. However, you can customize:
- Location settings: Geolocation and timezone configuration
- Advanced parameters: Fine-tune specific fingerprint elements
Learn more about fingerprint parameters and how they affect your profile's uniqueness.
Step 4: Launch Profile
- Click "Create profile"
- Click "Launch" on the new profile
- Wait for browser core download (one-time process per core version)
Initial launch time depends on:
- Your internet connection speed
- Selected browser core
- Whether the core was previously downloaded
Best Practices
- Match the operating system to your actual device
- Use cloud storage for team collaboration
- Regularly test proxy connections
- Keep browser cores updated
- Review our profile management tips for optimal performance